Maserati - Task 8
Reassemble the modified steering wheel
This task is easier with two people.
Note that this is only required for cars that will be operated by hand.
Procedure
- On the free end of the steering wheel’s 16” duplex wire, twist the red and black wires together slightly.
- Taper the gray insulation of the 16” 18-ga duplex wire at the free end of the wire.
- Insert the twisted wires through the hole in the steering wheel base.
- Pull the wire through as you close the steering wheel cover on to the base.
- Be careful to align the spokes of the steering wheel cover to those of the base.
- Be careful to not pull too hard on the 16” 18-ga duplex wire as that might disconnect the wire from the push button.
- Guide the unconnected black wire from the steering wheel cover to inside the base as the two pieces come together.
- When the cover is fitted to the base, insert three (3) screws evenly around the ring of the steering wheel.
- Untwist the red and black wires so they are separate, again.
- Use the crimping tool to attach a red, male crimp terminals to the red wire.
- Use the crimping tool to attach a red, male crimp terminals to the black wire.
- After attaching the terminals, gently tug each of them to make sure they are attached.
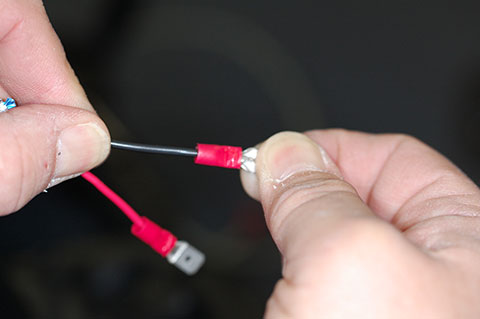
- If you can pull the terminal off of the wire, discard the terminal and crimp a new one more firmly.
Verification
Use the multimeter to test the wiring.
Short video on using the multimeter to measure continuity
- On the multimeter, select “Ohms” (or continuity). This is usually indicated by the Greek letter omega (Ω) for Ohms.
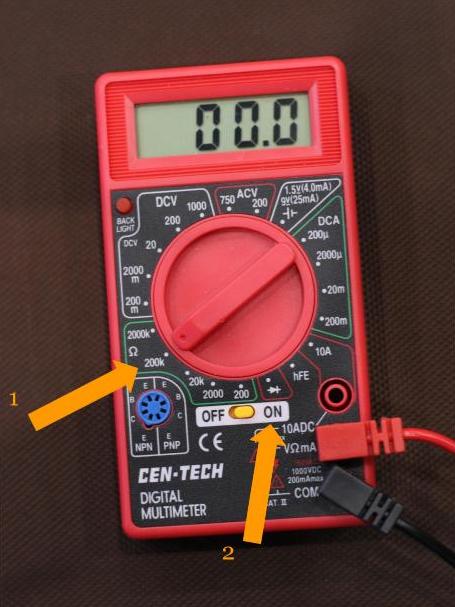
- Place the red lead of the meter on the metal terminal of the red wire.
- Place the black lead of the meter on the metal terminal of the black wire.
- With both leads touching their respective terminals as shown in this photo.
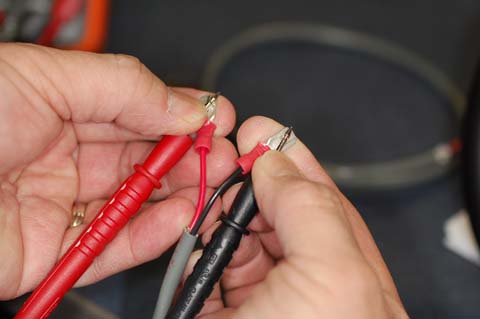
- The meter should not show continuity.
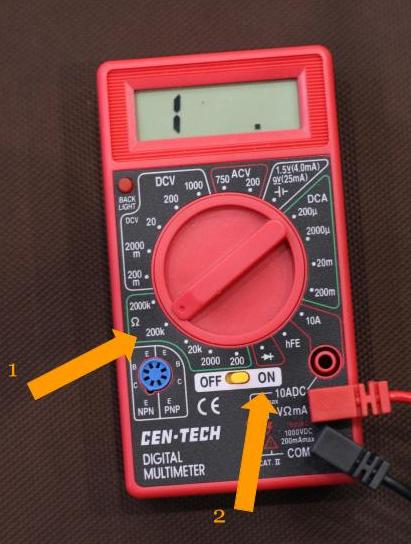
- Press the large red push button, and the meter should indicate continuity (by showing zero or almost zero ohms or beeping).
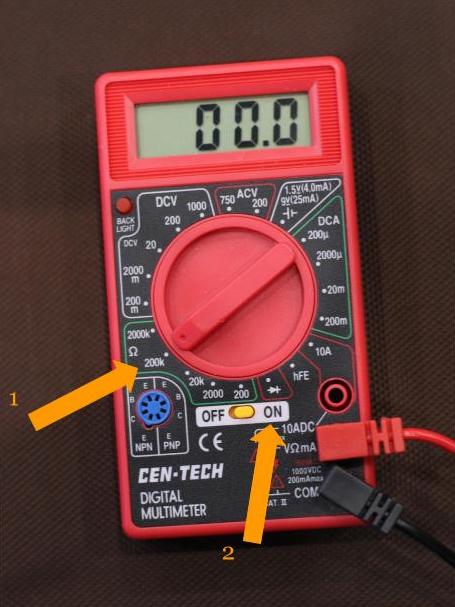
- The meter should not show continuity.
After you confirm that the wiring is correct with the multimeter, you can continue to the next task.